How to link a custom form or specifications to a task
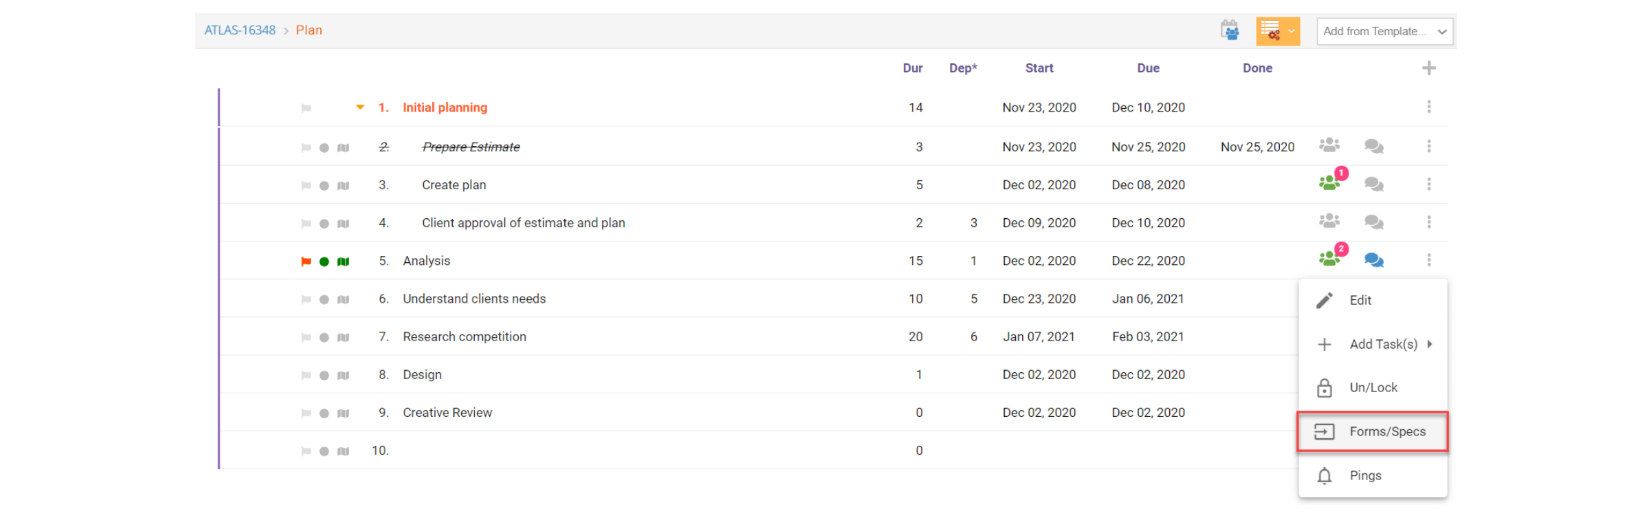
- Click on the “More Task Actions” icon on the right of the task and select the “Forms/Specs” option:
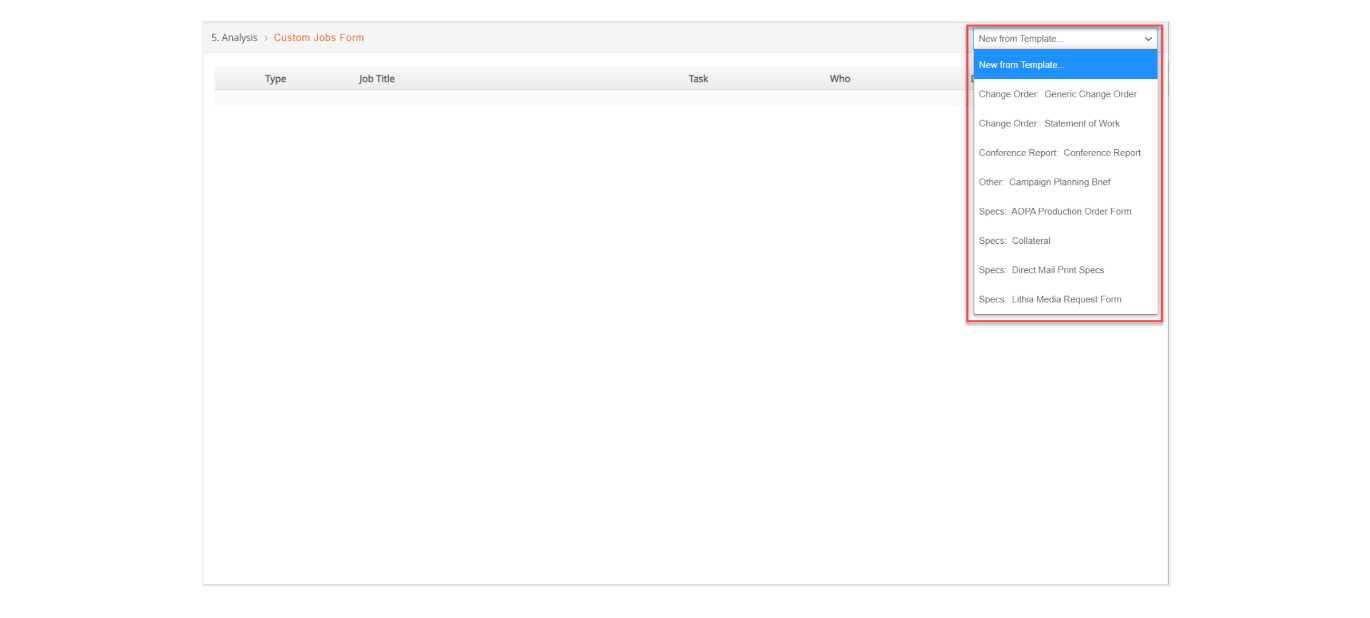
- In the following window you can select a Custom Jobs Form from the templates you have set up previously:
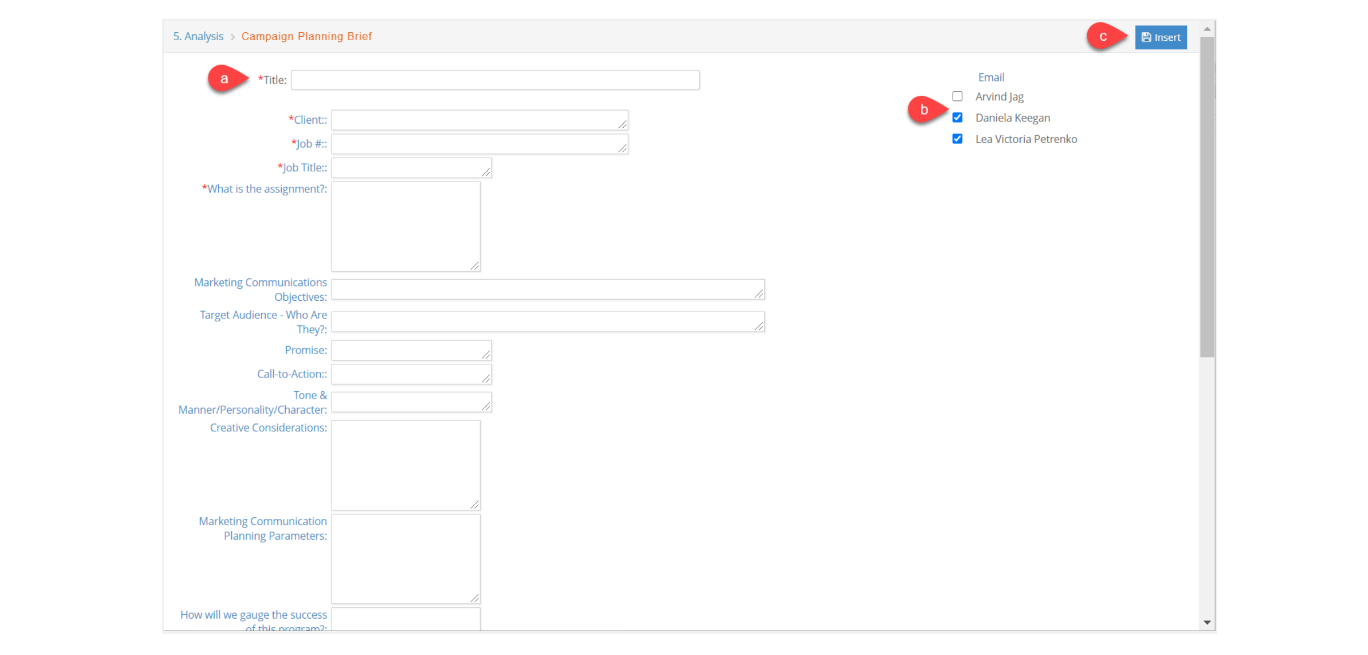
- The Custom Jobs Form selected will load into the window:
a. Fill out the required information. If the custom form is a Change Order type, it will appear as alert on the Dashboard. If it is a Specs type you can send to up to three vendors for bidding.
b. Select who you want to email the form to. By default names will be checked, you can uncheck if you don’t want to send an email.
c. Click the Insert button to save and send the form.
- After you click the Insert button, the window will display the list of Custom Job Forms linked to the task.
a. From here you can view any Custom Job Forms or print them.
b. You can also add other forms by selecting a template from the dropdown list on the upper right hand corner.

💡
This will add Custom Jobs Forms to the same task. If you wish to add forms to a different task, close this window and follow the same process described previously.