Under the Job# > Communication you will find Blogs, Creative Briefs, Custom Forms and Job Notes.
We will review each of them.
Blogs
Blogs are one of the most popular communication tool features in e·silentpartner. Blogs are messages or communication threads that can be sent from different modules or windows in the system (like from the Job main window, or from a specific task) and are easily recognizable thanks to its icon, .
.
By using blogs, you will be able to communicate with any member in your company, also with contacts or vendors. The communication thread will be stored and linked to a specific job –reducing considerably the amount of time needed to find exchanged information by more traditional ways (like email)-. An optional feature allows you to send a copy of the blog as an email and, as long as users ‘reply all’ on the email thread, the response from an email will update the blogs in e·silentpartner as well.
To review and/or add a new blog, click on Job# > Communication > Blogs. This window will present you by default with any existing blog thread for the specific job –on the left side- and the blog thread itself when you click on any of them –on the right window. The right side will show all the messages that are part of the thread. You can reply or add a message to the thread by clicking on the green + on the top right corner. This field accepts formatting (bold, cursive, bullet points, etc.).

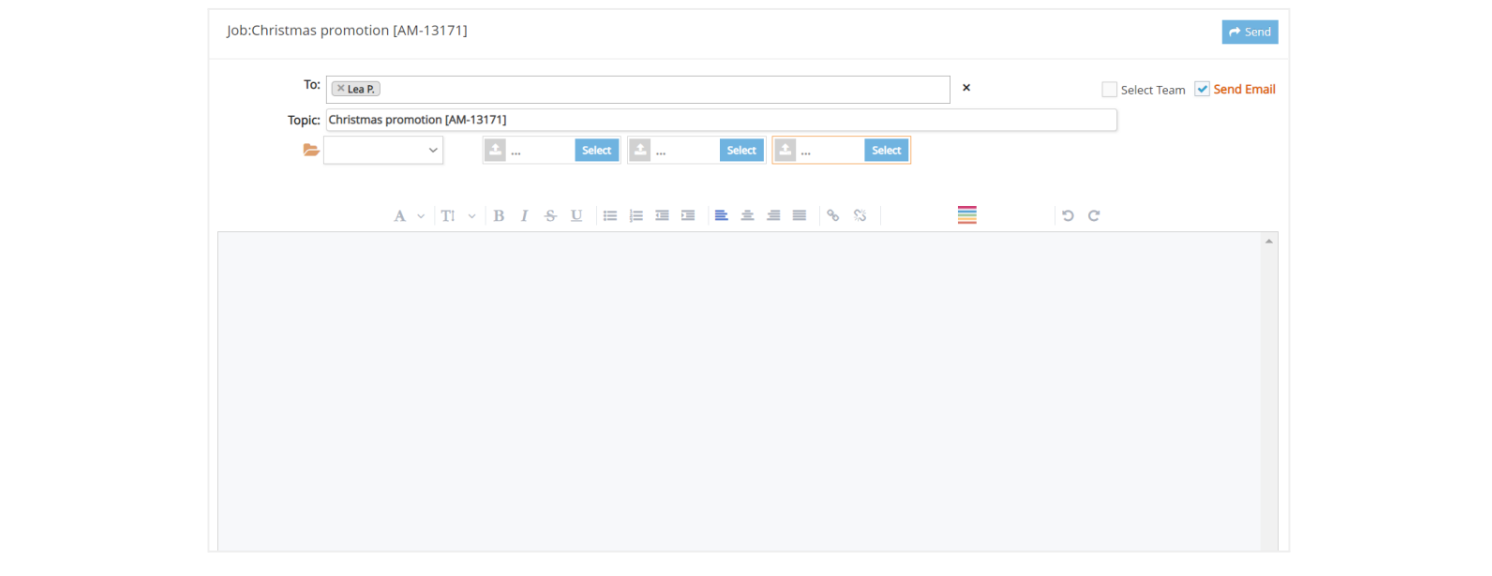
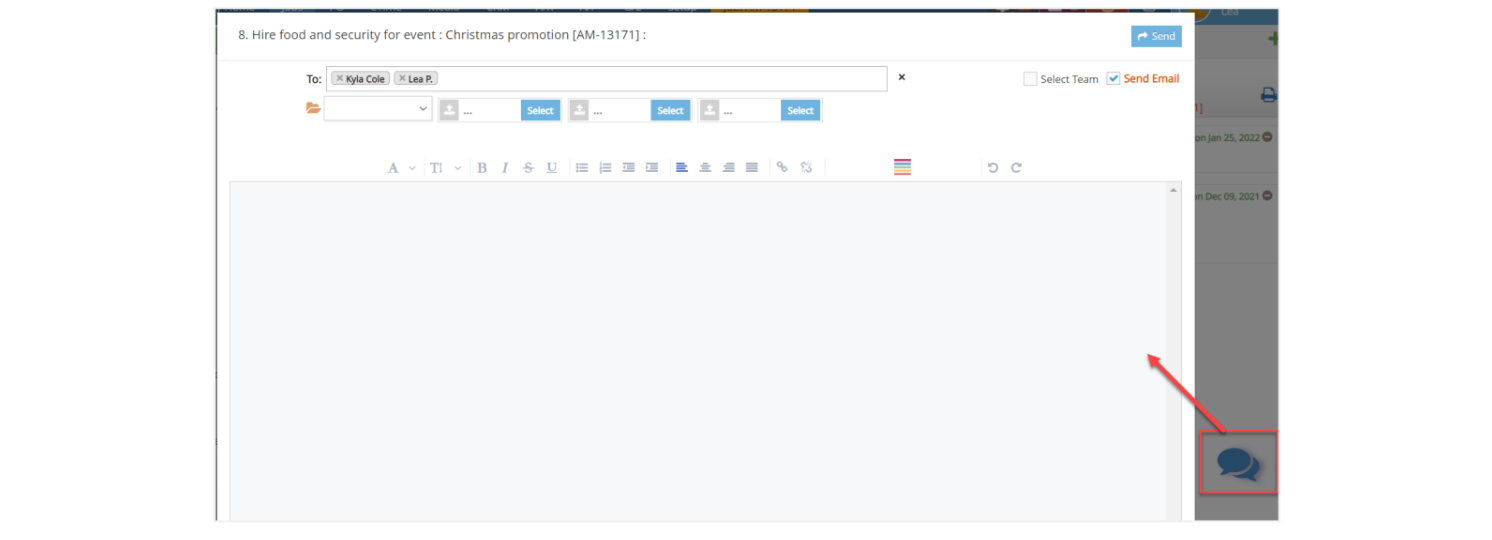
If you wish to create a new blog thread, click the blog icon on the bottom right of the window. A modal box like this will open.
Select your recipients (only job team members and client contacts can be included), add attachments/digital assets if needed, and type and format your message. You can attach up to three files to every message sent. Any large attachment exceeding 10MB will attach to the blog in e·silentpartner but not send with the email to improve the email delivery. The email will include a notification to review the files from the Blog.
By default, the ‘Send Email’ option will be checked. Uncheck if you wish to simply create a blog thread message without sending it via email simultaneously.
With the proper security, blogs can also be deleted, by clicking the minus icon.

You can create blogs the way we have described from any of the following areas, just to mention a few. Please, remember that blogs will be linked to a job and/or task:
- Manage Jobs > Dashboard, Tasks, Jobs Workflow, Task Workflow
- My Jobs
- My Tasks > Summary, Detail
- My Blog
- Activity
- Project Plan > To-Do, Simple, Plan
Creative Briefs
Now let's review how you can maintain the creative information about a Job. As you know, in the initial planning stage of the Job, you may lay out the objectives of the Job - what are we planning to do with this Job, why are we planning to do this Job, who is the target audience, what do we want to 'sell' them, why do we want to sell them, etc.
These questions are specific to your company. The culmination of the question and answer set is called a creative brief or creative work plan. You can build a template of questions for different scenarios. See section on setting up Creative Work Plan Templates later in the chapter.
After your templates are set up, find the Job you want to develop a Creative Work Plan for and under Job > Communication click Creative Brief. Using this window, you can select one of the available templates you have set up from the drop-down menu.

A new window with the selected template will show. This is the area in which you enter the answers that are specific to this Job. Developing a Creative Work Plan is not necessary for every Job, but if you must, developing it here will help you to maintain all the information in one place –the job. Creative Briefs can be shared - they can be viewed here and they can be printed (with or without your logo).
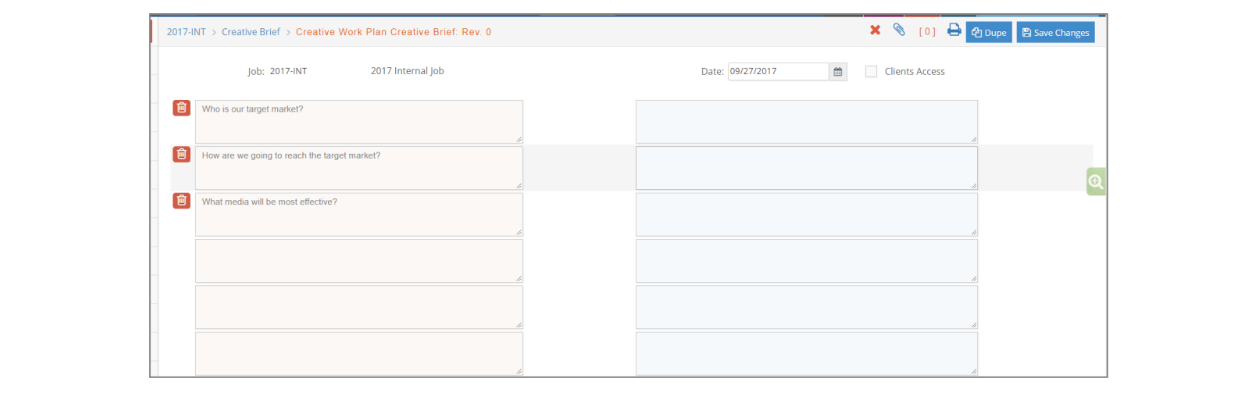
After you have entered the answers to the questions, click Insert to create. Once inserted, you can add new questions or remove questions that are carried over from the template.
You can make changes to existing creative briefs, add revisions, dupe, delete or create additional new creative briefs at any time.
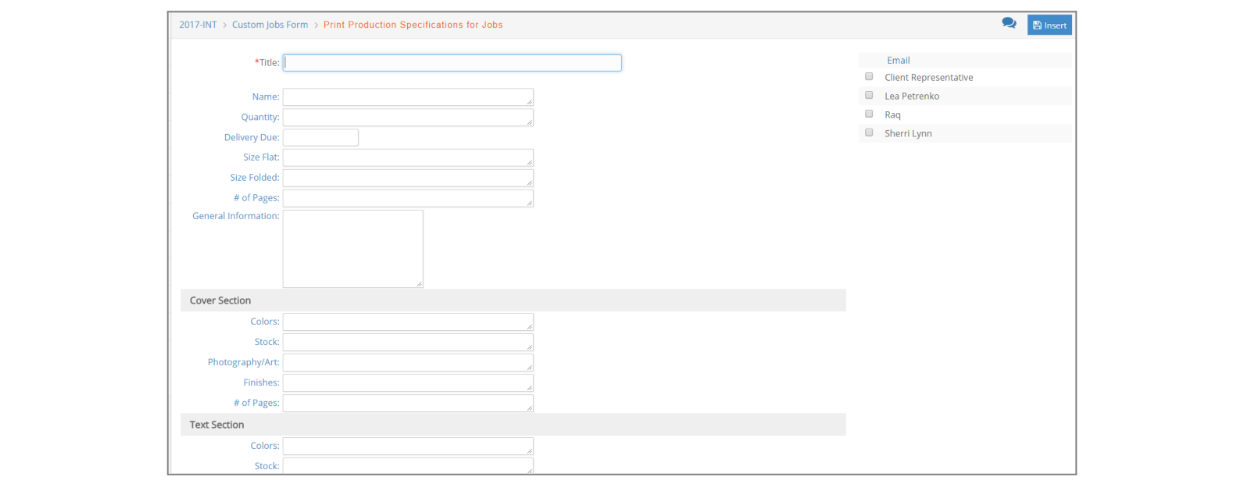
Custom Job Forms
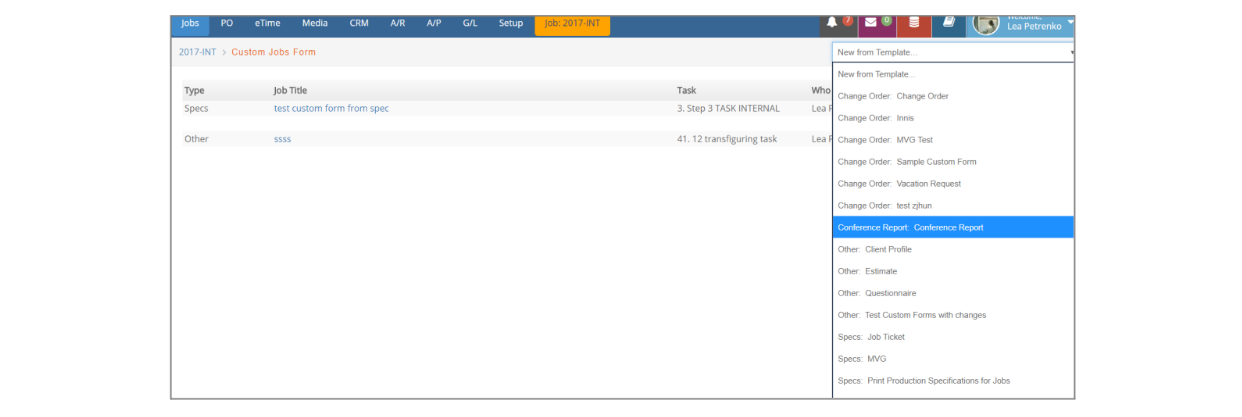
Custom Forms enables you to select a Specification Template that you have already created under Jobs > Setup > Custom Jobs Form and populate the template with details specific to the Job. Once a Specification form is saved to a Job, it can be viewed or printed at any time from the Job# > Communication > Custom Forms window. See Setup > Custom Forms for instructions on how to create the template forms.
For change orders, if you wish to send an email, click the checkbox for the Team member(s) who you would like to send the Change Order to and click Insert. Change Orders appear as alerts on the Dashboard.
Custom Forms can also be included at a task level, within a Job Project Plan by selecting Custom Forms for the task and completing this same process.

Job Notes
This Jobs feature keeps notes about the Job, while it is being planned or while it is in progress. These include system generated notes and user entered notes. You could, of course, keep your own set of notes in your possession, but consider the other members assigned to the project. They need a way to readily assess the progress, be aware of any potential roadblocks, or just simply be aware of who communicated what to whom. This is where electronic Job Notes can come in handy. Under Job # > Communication > click Job Notes.

The above provides you with a documented record online of all notes entered for this Job. Think about how this would facilitate communication. If you want to see the complete details of the note, simply click on any line in the list. These notes can be entered by you and the system enters notes as an audit trail when a quote is changed from a quote to a Job, for example. To add a Job Note, click the plus icon. Enter the Note and click Insert. To print a note, click the printer icon.